I had a 6 inch Chocolate Cake and several Cupcakes baked for our Decorating with Fondant practice! We'll start with the small ones first and then maybe we can work our way up to the bigger and more complicated cakes!
1. Coloring the Fondant
To color the fondant, we used a gel based food coloring. This is usually used for icings of cakes. You will need a toothpick to color the fondant. Just dip the toothpick in the food coloring and put it to the fondant you want to color. Knead it thoroughly to color the fondant evenly.
2. Rolling out the fondant. Cover the Cake with Fondant
I remembered, like our lesson with dough, the work surface should be dusted so the fondant would not be sticking to the table. In our case, we used powdered sugar to dust the work area. This was the hardest thing that I had to do during the practice session. I had to roll and re-roll the fondant because it kept on sticking to the work surface. Then when I tried putting more powdered sugar to the surface, it worked! It didn't stick anymore! Another lesson I have learned in rolling fondants, you must roll the fondant from the middle going towards the outside. You should not roll it back and forth so the surface will be smooth.
I read from my research that for you to know the size of the fondant to roll out to cover a certain cake is to measure the diameter of the cake (6 inches) plus measure the height of the cake X 2 (4 inches x 2 = 8 inches). So when you add that up, the rolled fondant must be 14 inches in diameter to cover the 6-inch cake.

It would be nice if i had the Roll and Cut Mat, where you will just follow the pattern. But I had to do it using ruler. It was ok also, nothing beats going through it the hard way!
Then I placed a light syrup all over the cake to act as glue for the fondant. Some say that you can use buttercream icing also for that. I have yet to try that.
Then to put your rolled fondant to your cake, use your rolling pin to lift your fondant and gently lay it over your cake. Here is a video of how to do this. I watched this video and it helped me a lot!
http://www.youtube.com/watch?v=vecmy4nKT-A
3. Using cut out fondants
For the design of our cake, we just used my cookie cutters. Like cookies, we rolled out the fondant and used the cookie cutter to get the design we wanted. Then we played around with it and this is how it turned out in the end! We were so proud with ourselves after doing this. It took us around almost 3 hours to finish a cake, and some cupcakes too!


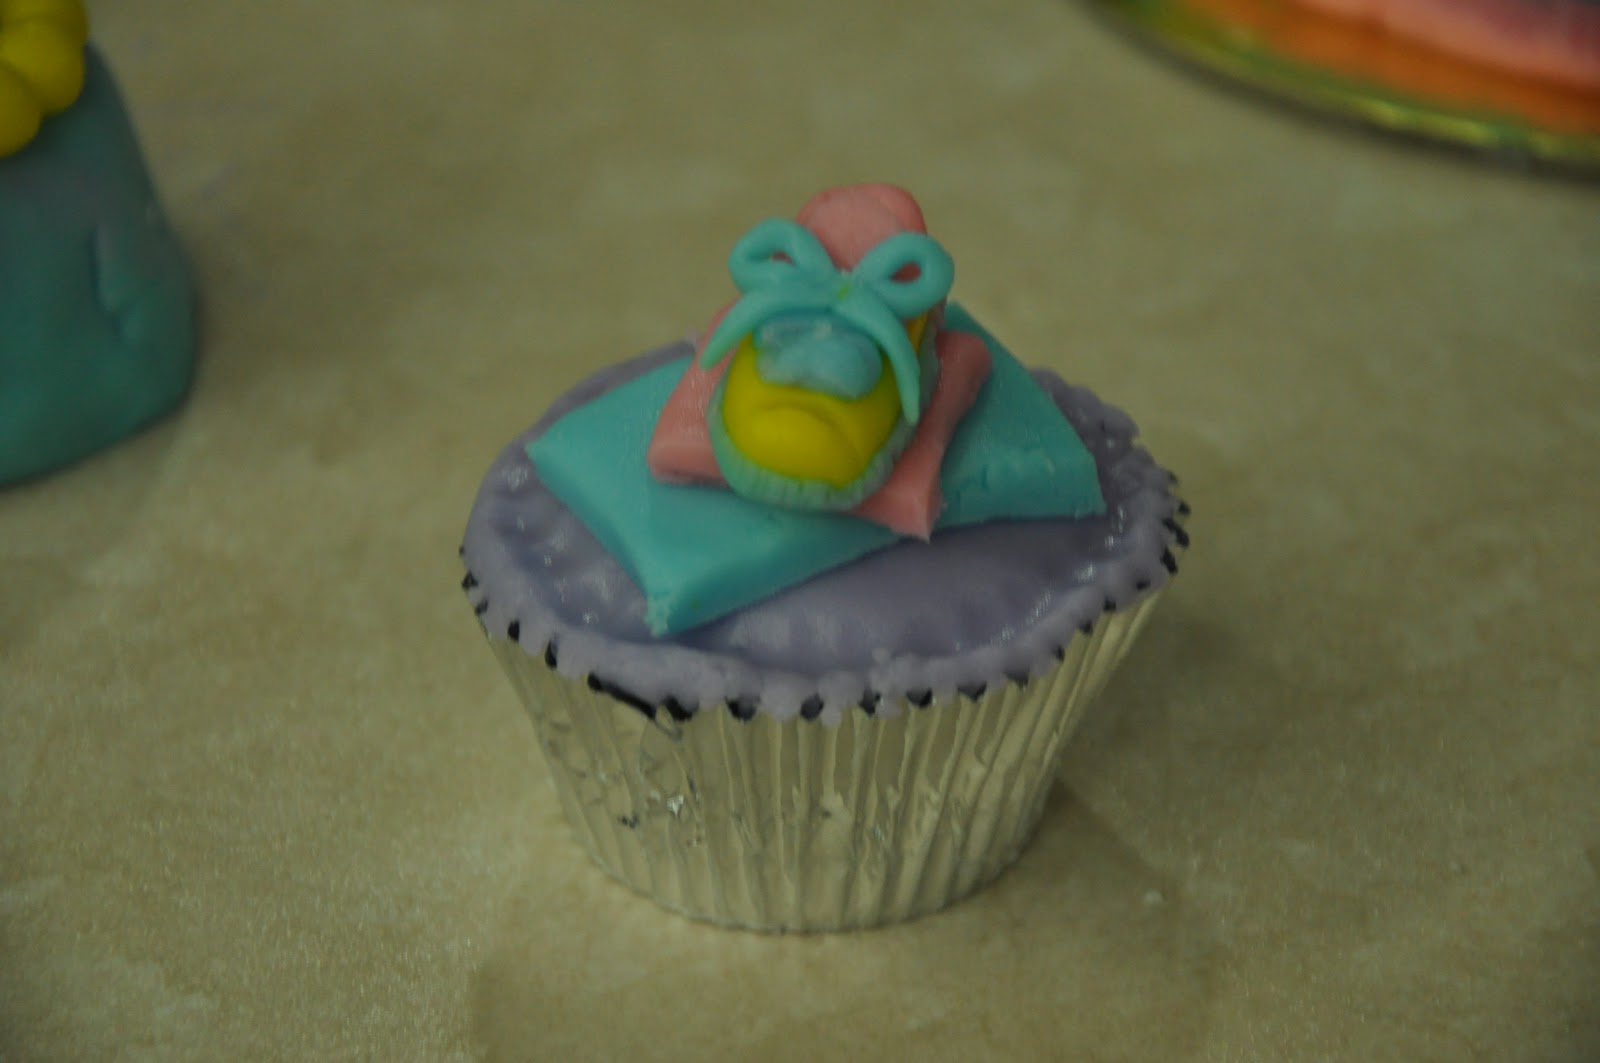

My friend also did a pictorial of the creations we made. It looks so nice in pictures! Until our next practice session!

No comments:
Post a Comment